
Events (calendar entries) are created separately than pages and posts. In order to mange the events, select the Events menu on the site dashboard.
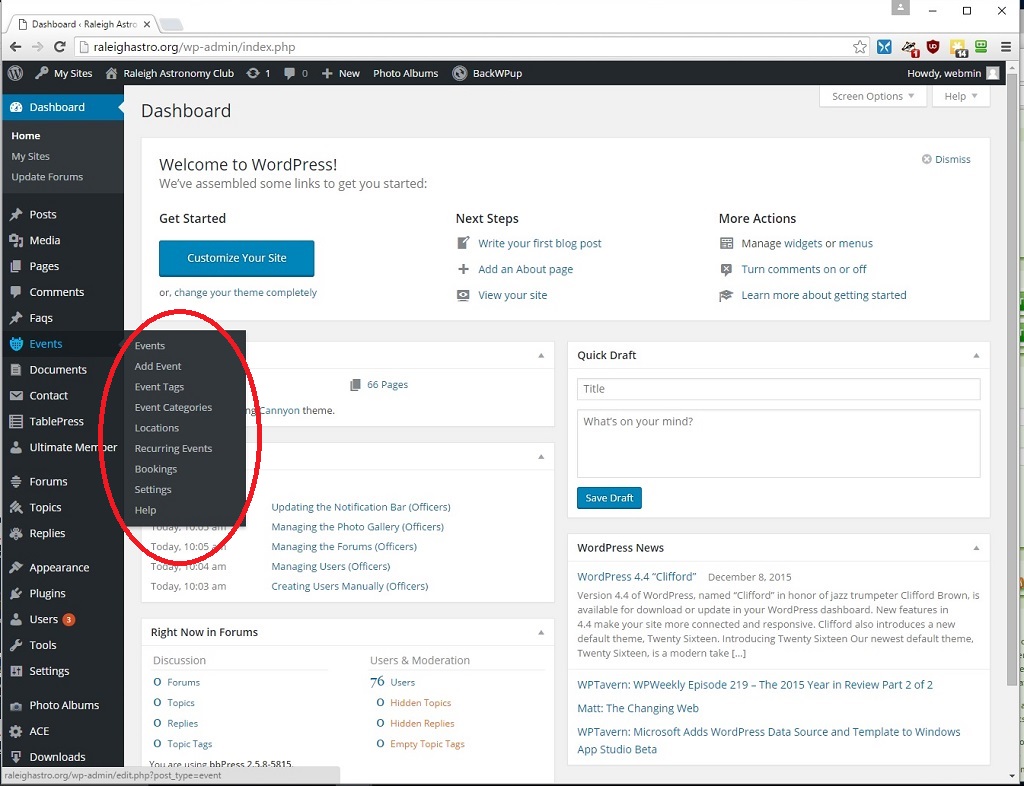
Event Menu Hover
The default action is to list the current future events list.
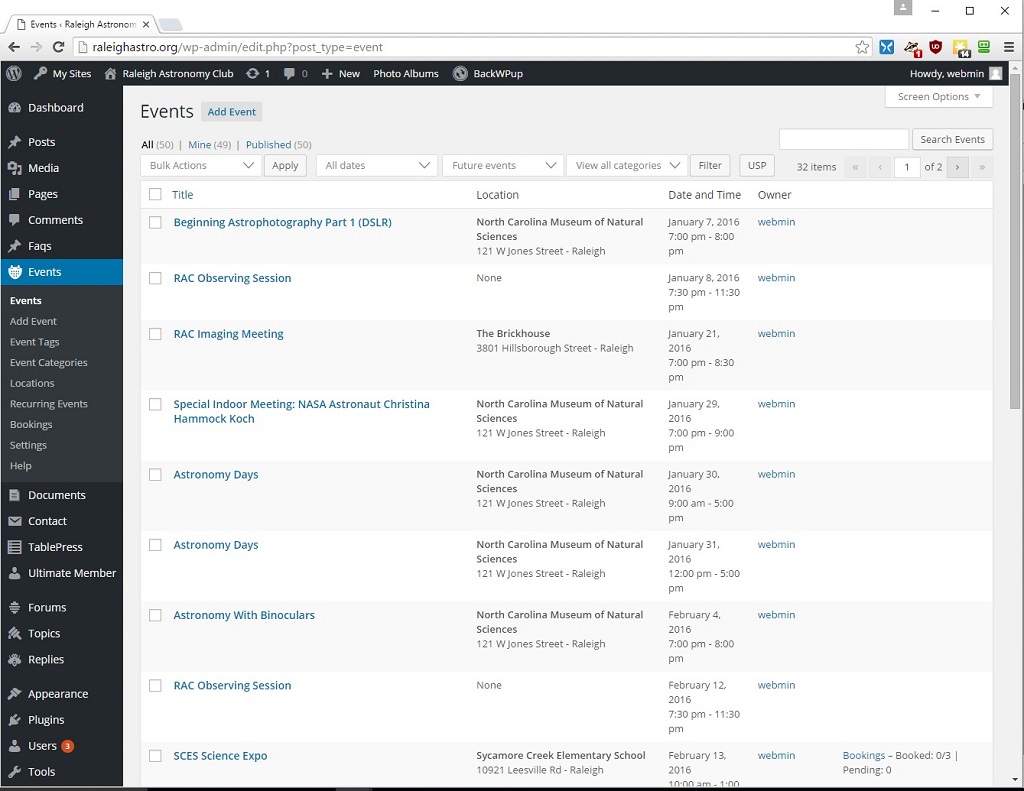
After Clicking Event
Editing an Existing Event
In order to make changes to an event, click the event on the list to get the event editing screen. alternative, you can create a new event by clicking Add New.
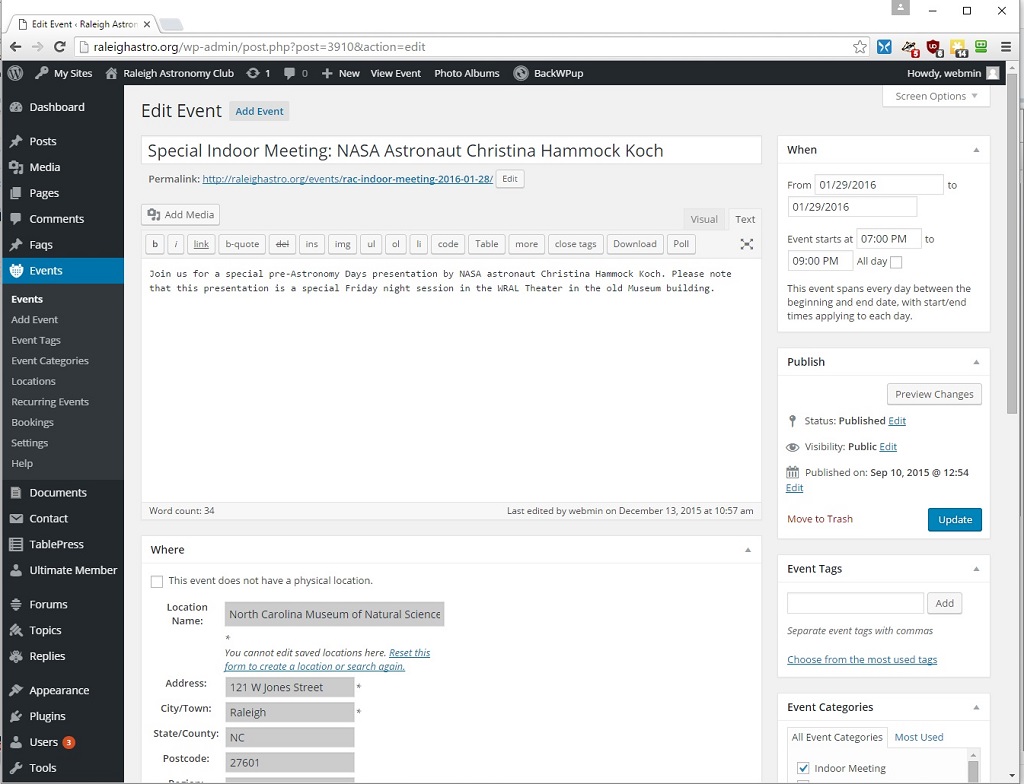
Event Editing Screen
On this screen, you can change the event particulars:
- Title – The title as you would like it appear on the calendar
- Description – This is an HTML description of the event
- Date (Start and End) – in the upper right box
- Time (Start and End) – in the upper right box
- Location (See Below)
- Category (See Below)
- Registrations (See Below)
Please see the section on recurring events for events which repeat. If you edit a specific instance of a recurring event, it will become de-linked from the series of recurring events and cannot be changed using the recurring event screen.
Once you have made changes, you can save them by clicking the Update button.
Location, Categories, and Restrictions
Scrolling down, you will see the areas for category, location, and restriction.

Location, Category, and Restriction
The location is required. If there is no physical location or if it is desirable to no advertise the location, check the This event does not have a physical location box. Alternative, enter the details of the location in the boxes. Any location used previously will be stored, so when you start typing a location a list of matching locations will appear. If it is already entered, you can select the entry and it will auto-populate the form.
The category is important to where and how the event will display on the calendars on the web site. Select the category (or categories) of the event. Please note that these categories are different from page/post categories. The currently defined categories are:
- Classes/Workshops – For RAC Astronomy Classes
- Imaging – For Imaging Group Meetings
- Indoor Meeting – For Regular Indoor Meetings
- Member Event – Used for Members Only Club Events – Not visible to the public
- Private Outreach – Outreach Sessions For Schools, Etc. – Not visible to the public
- Public Observing Event – RAC Public Observing Sessions For The General Public
- RACOBS – Regularly Scheduled Observing Sessions
- Special Event – Special Event
Finally, you can restrict viewing of the event by clicking on the ultimate member restrictions. To activate the restrictions, click on the open box next to where is it says NO under Apply custom access settings. You will then see a series of option for restricting the content.
Registrations
Scrolling down further, you will see the settings for enabling registrations for the event. This is not enabled by default.
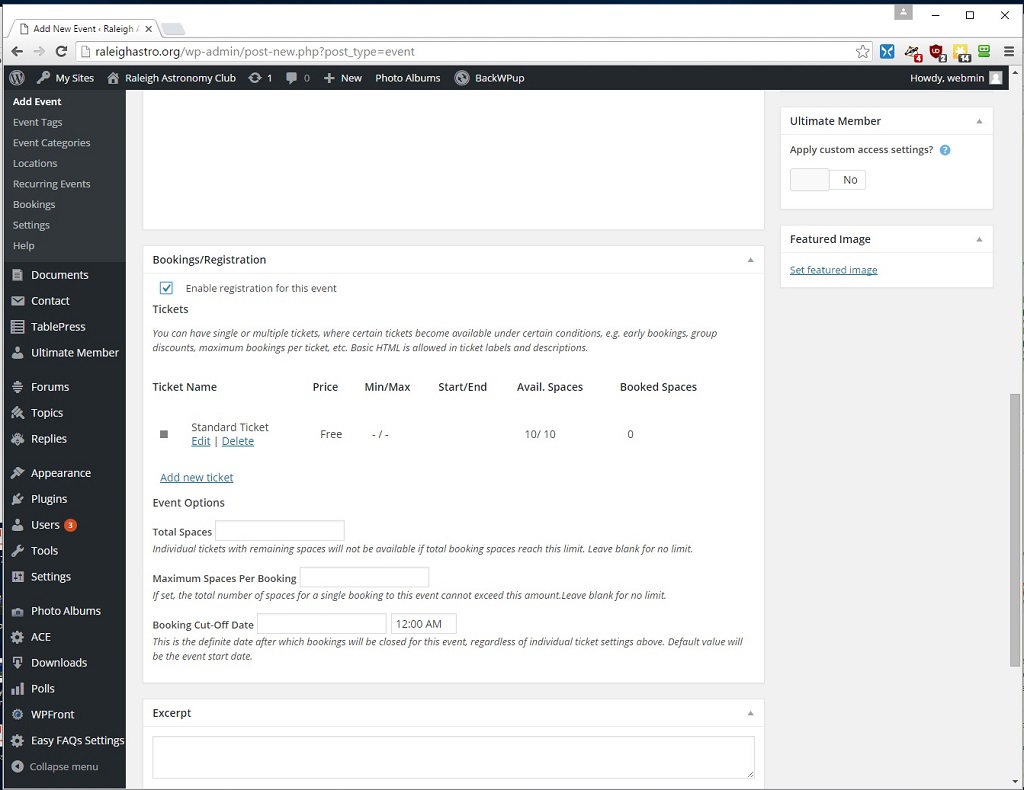
Registration Parameters
To enable registrations, click the Enable registration for this event box. You can set up different ticket types for an event. The default type is a no cost ticket. You can also set a limit of attendees (Total Spaces box), the maximum number of slots one person can book (Maximum spaces per booking), and a cutoff date after which registration will not be accepted.
Recurring Events
To create/update a recurring event, click the Recurring Events link in the Events menu. You will see a list of the current recurring events. To edit an event click on the event and you will see the recurring events fields.
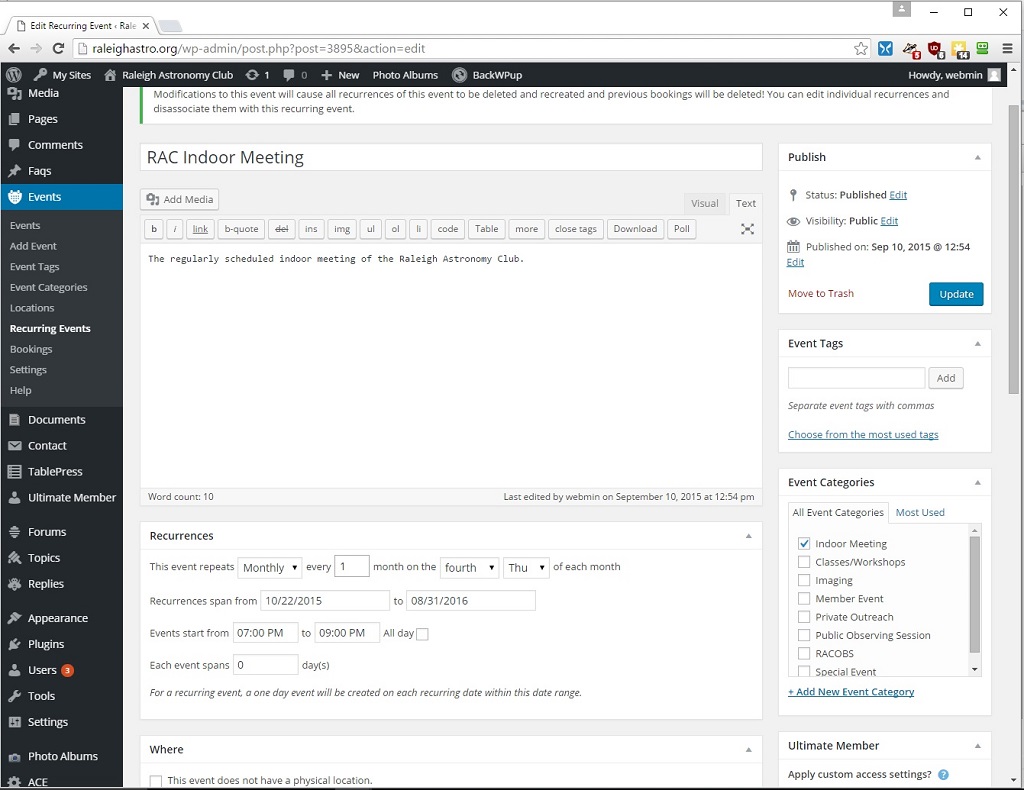
Recurring Events Fields
These fields can be changed to set a recurring set of events. Changes here will affect all future events which have not been separately edited.

