
All member can create posts for the front page/site through the backend dashboard. In addition, officers and committee members can create and edit pages and other people’s posts. Any post not created by an officer or committee member must be approved by an officer or administrator before it is made public. Officers are notified via email when a member post is submitted for approval.
For editing pages, the process is similar for posts, so the post process is shown below. The page process is the same, only the Pages menu items are used.
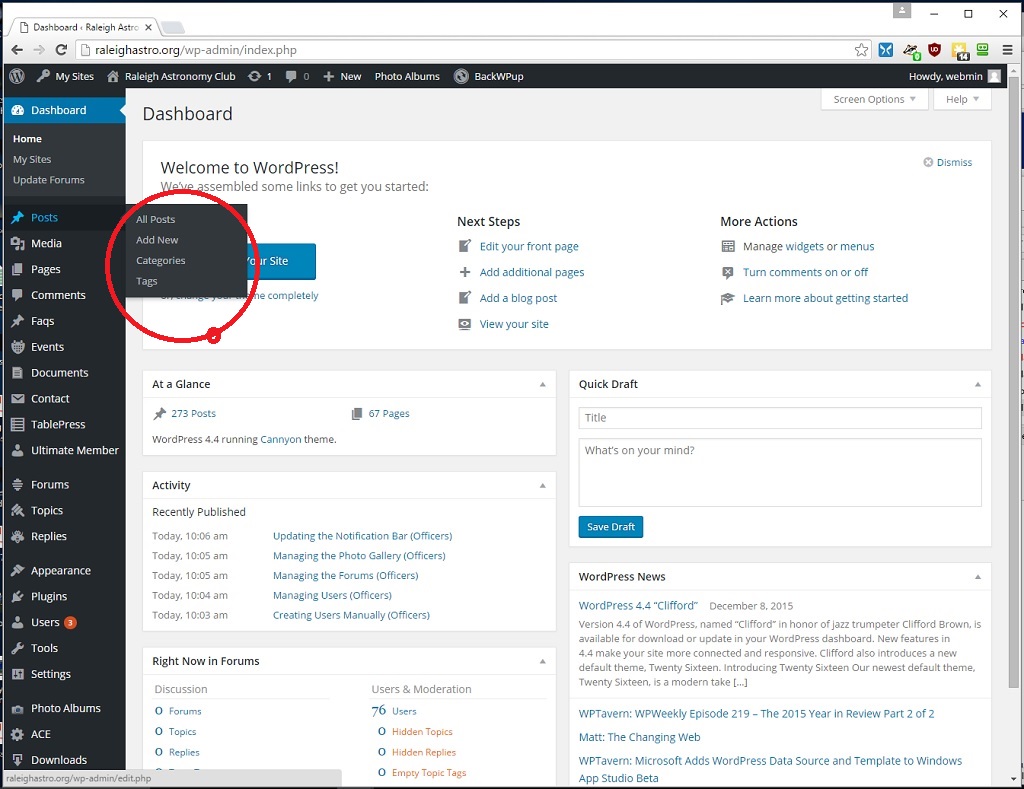
To view all the posts, click the Post menu or hover over the Post menu and click All Posts.
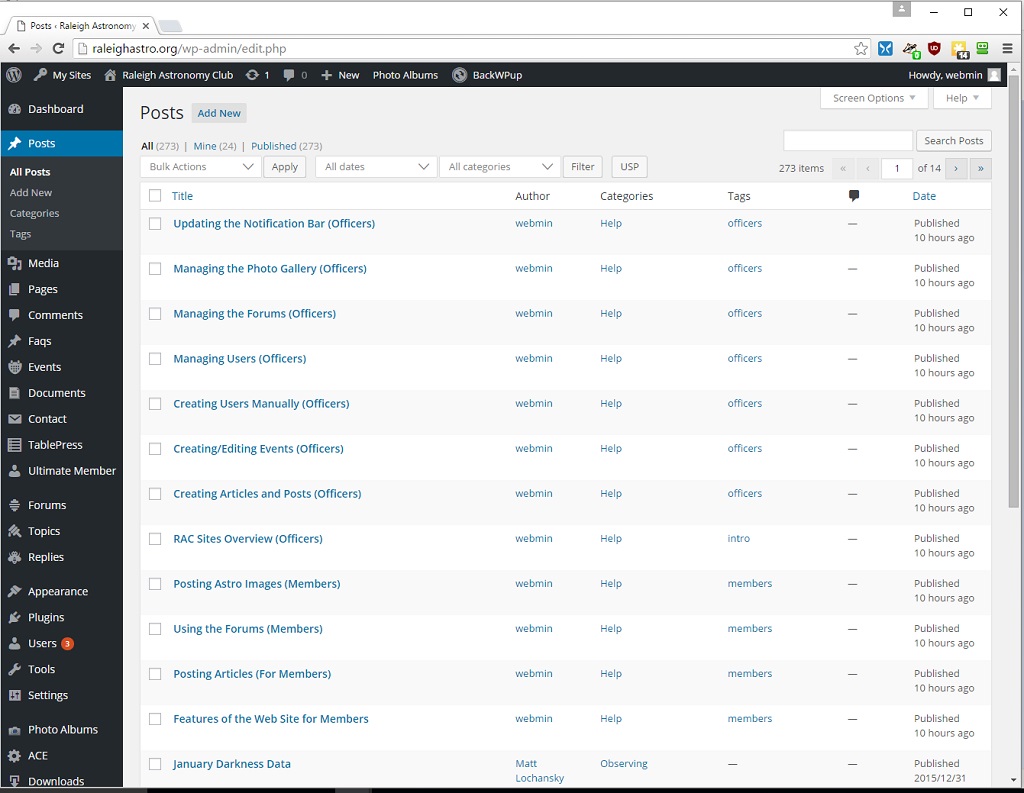
A list of the posts will be displayed:
Creating/Editing a Post
You can either click an existing post to edit (members can only edit their own posts) or add a new post. To create a new post click Add New in the left hand dashboard panel or from the Toolbar at the top of the page. In this example, we edit an existing post:
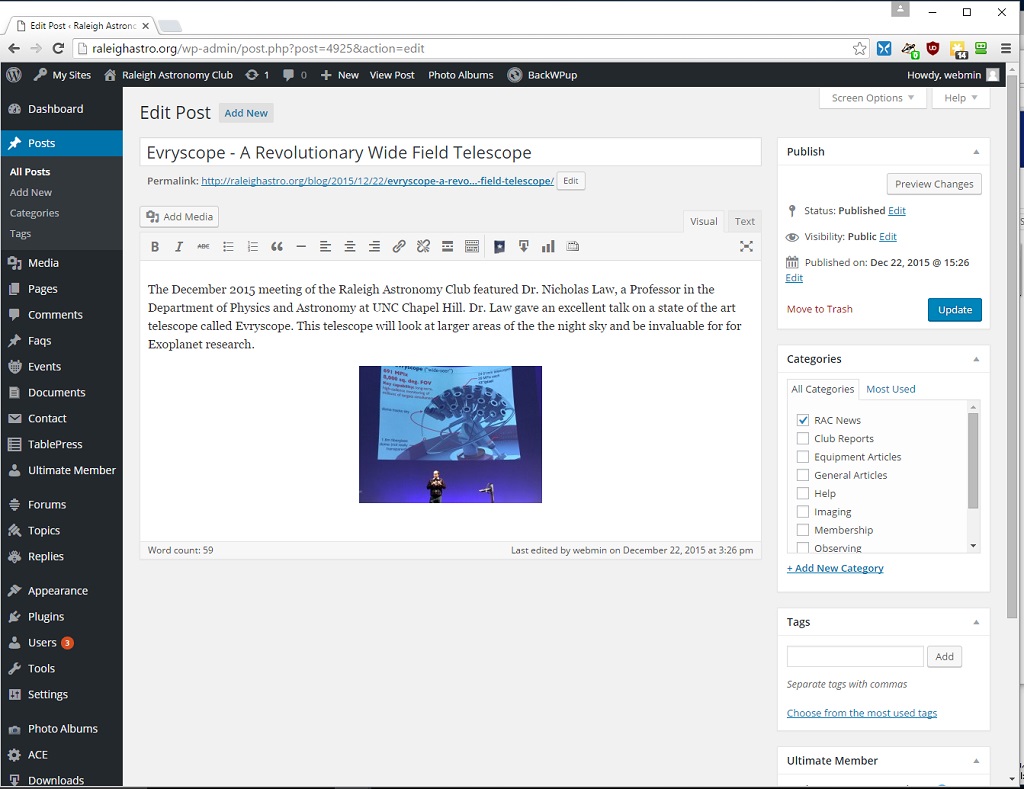
The post/page editor has two views for editing and you can switch back and forth between them. The view shown above is the Visual view. This shows what the post will look like (approximately) on the screen. You can fully edit the post in this view. The toolbar across the top allows you to add links, modify text, etc. If you click on the Text view, you will get a view which shows the html language used in the article, lie below:
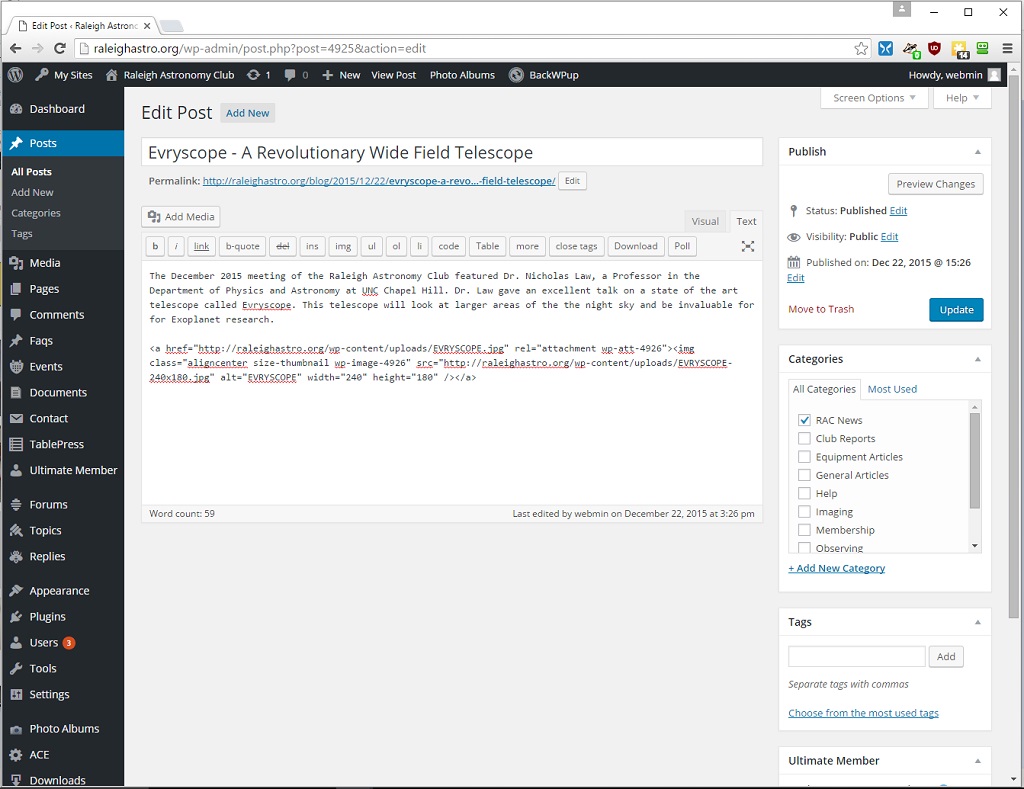
The toolbar shown in the Text view still has the same function, but shows the html tags instead of a user friendly view. You can switch back and forth between the views as needed. The system will also remember your last view used, so when you first click a post to edit, you will see the last view you used by default.
Adding Images
To add an image to an article, place the cursor in the position where you want the image and click the Add Media button. The media library overlay will open.
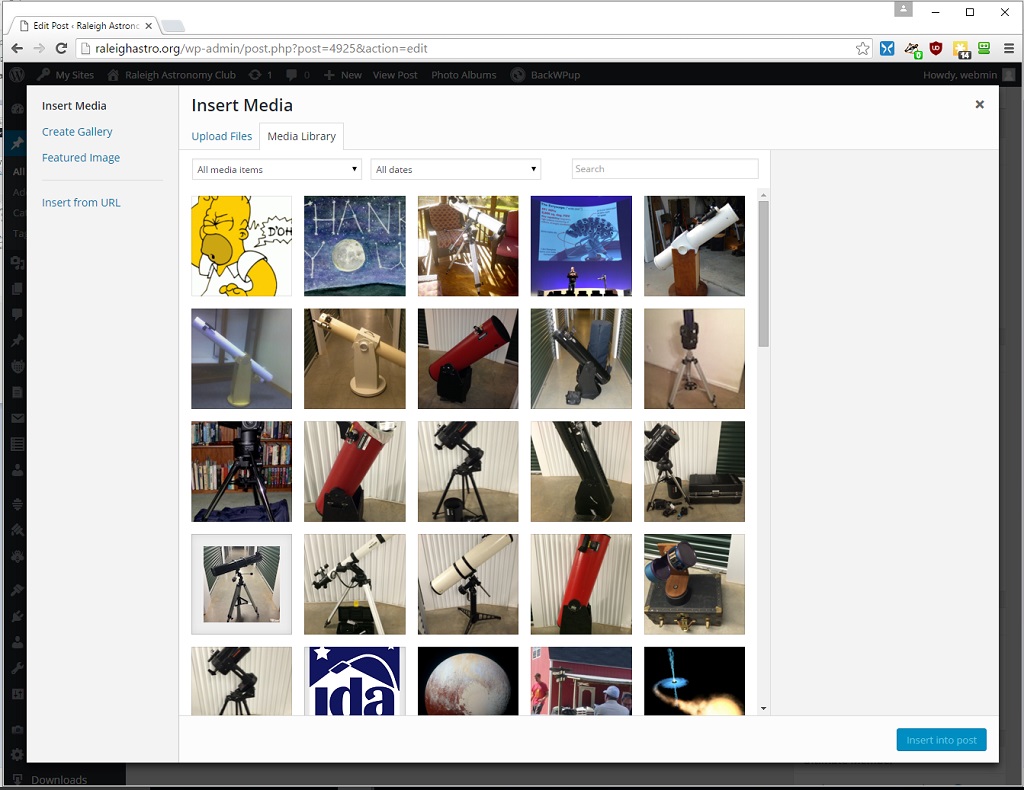
At this point, you can search for an existing image or upload a new one. To upload a new one, simply drag the image to the media library wind and drop it there. Note: unlike earlier versions of our web site, you don’t need to make different size images and upload them all. WordPress will automatically make the correct thumbnail images from your picture. NOTE: For Posts, please try to keep the images to < 1MB in size.
Once you select an image, a series of options appears on the right hand sidebar.
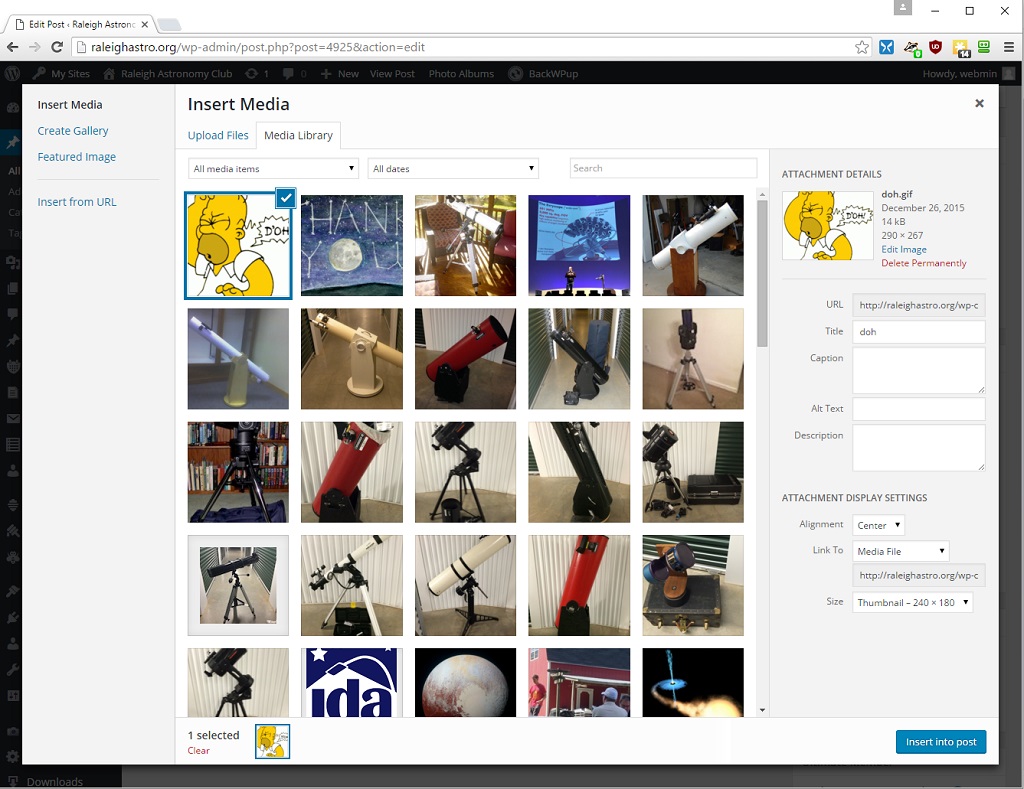
The main options you can set are:
- Caption – If you want a text title of your image, enter it here
- Description – If you want a description to appear when the user hovers over the image, enter that here
- Alignment – Sets the display alignment (right, left, center, or none) for the image
- Link To – By default this is set to the media file. So when the images is clicked by the user, the full size media image will appear in a popup
- Size – The size of the image to display
It is usually best to display the thumbnail with a link to the full size image. Once the options are set, you can insert the necessary HTML code by pressing the Insert Into Post button.
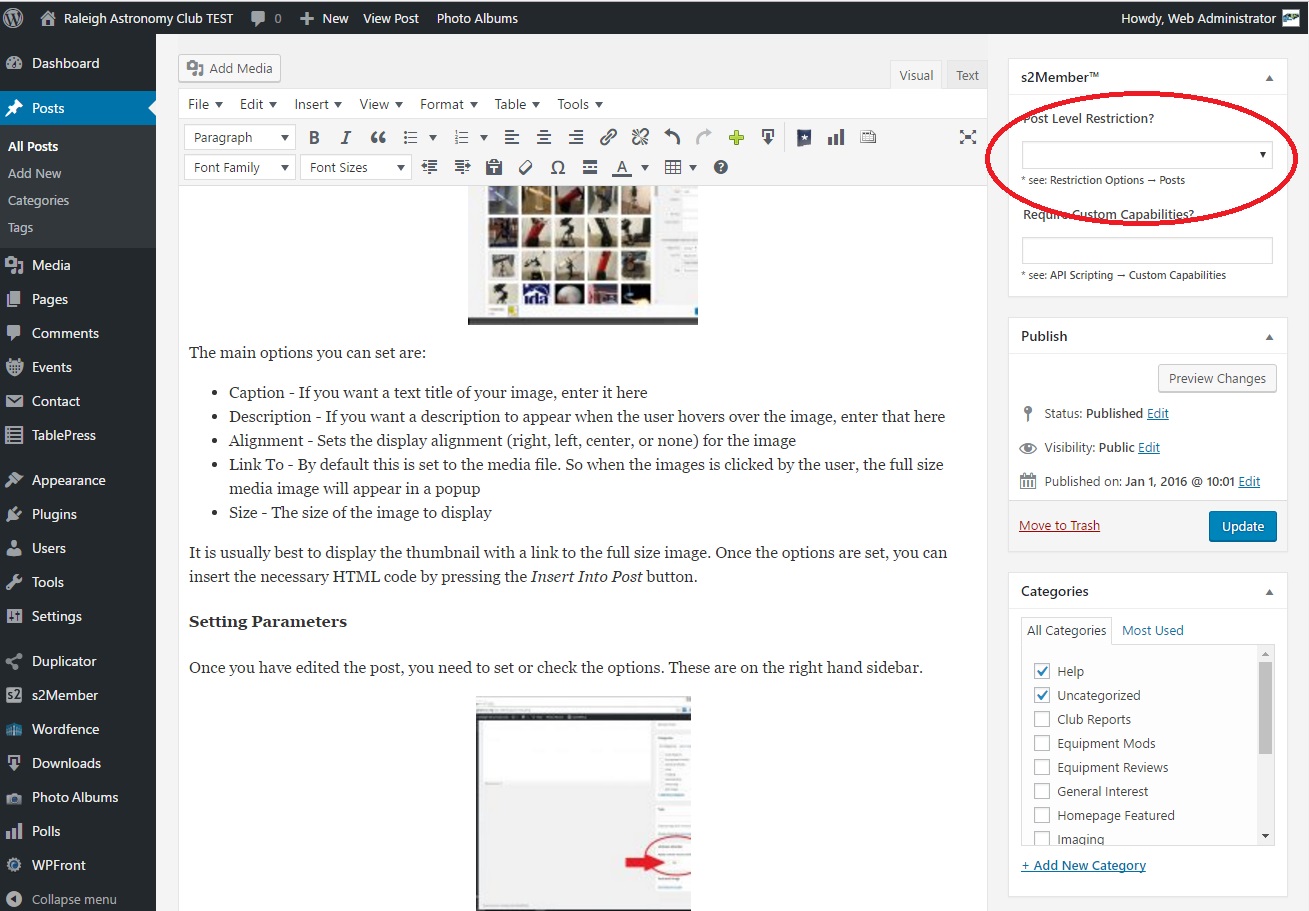
Setting Parameters
Once you have edited the post, you need to set or check the options. These are on the right hand sidebar.
You must select at least one category for the post. Select the best category, but please do NOT use Uncategorized.
Optionally, if you want the post/page to have some access restrictions, you must set the S2Member Access Settings to Require Level #1 or Higher (See red circle in diagram). Once that is set only logged in members can see this post. Please do not use any other restriction than Require Level #1 or Higher.
Final Note
Earlier web site versions required a lot of HTML tags to display the posts. This is not true in the current installation. In fact, many of the formatting tags will be overridden in the them or browser, so it is recommended to keep the HTML pretty simple for all posts. If there are questions, please contact the webmaster.

